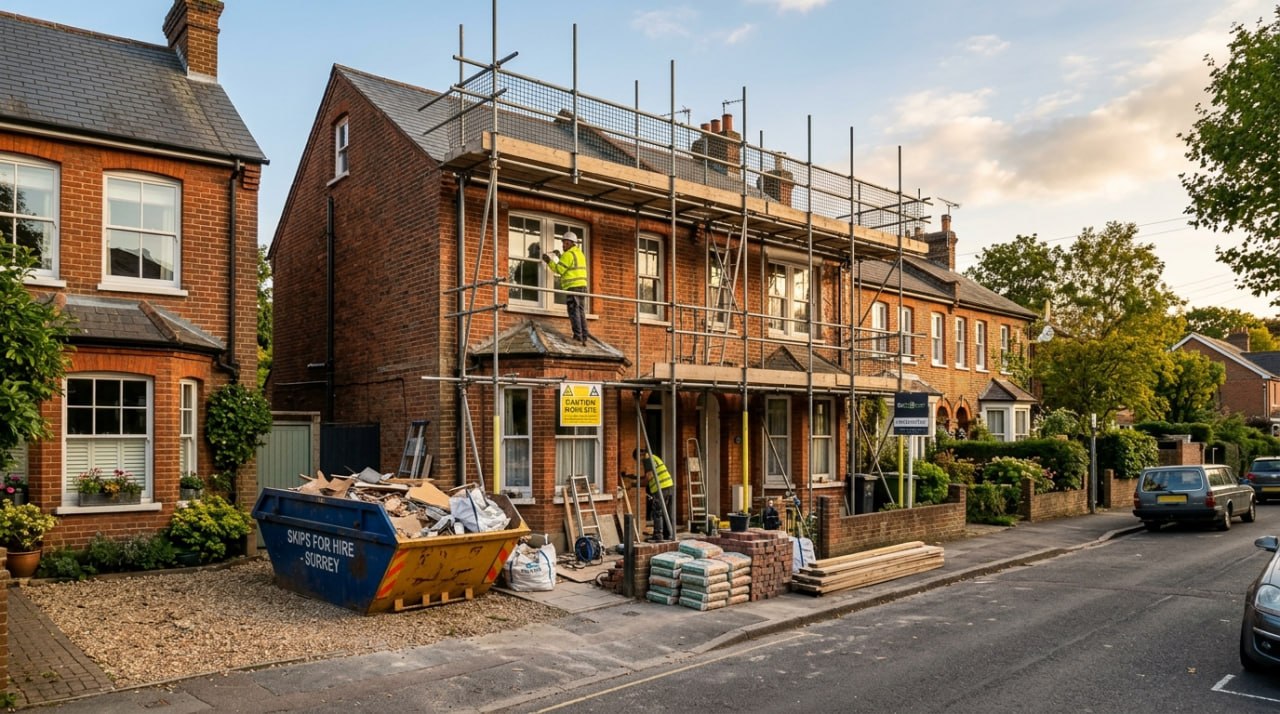
A full property refurbishment can add value, improve comfort and transform how a home works. But without a clear plan, costs spiral and schedules slip. We've managed refurbishments in homes across Croydon, Purley, Kenley, Caterham, Warlingham, Coulsdon and Redhill, and the same mistake comes up again and again: people start decorating before they've fixed the structure underneath.
This guide covers realistic budgets, the right order to tackle work, the trades you'll need and how to avoid the common mistakes that cost homeowners thousands.
"We are hard working professional tradesmen who charge fair price for good quality work and no nonsense. If you spot a defect, we will come to rectify for free."
— Fred, Recommended Tradesmen, Kenley
What Counts as a Property Refurbishment?
A refurbishment is more than redecorating. It usually involves some combination of:
- Re-plastering or skimming walls and ceilings
- Replacing or refinishing floors
- Updating kitchens and bathrooms
- Rewiring and replumbing
- New windows, doors or exterior work
- Internal layout changes
If you are only painting and replacing furniture, that's redecoration. If walls are coming down and systems are being replaced, that's refurbishment — and the order of work matters.
How to Plan a Refurbishment: Step by Step
Step 1: Define the scope
Write down exactly what you want to change. "New kitchen" is vague. "Replace cabinets, worktops, sink and flooring, keep layout" is clear. The more specific you are, the easier it is to quote accurately.
Step 2: Set a realistic budget
Add 10–15% contingency. Refurbishments almost always uncover something unexpected — damp, outdated wiring, uneven floors.
Step 3: Book a survey
A good refurbishment company will assess the property, spot structural or damp issues and advise on the right order of work.
Step 4: Plan the sequence
The usual order is: strip out → structural work → plastering → electrics and plumbing → flooring → kitchen/bathroom → decorating → snagging.
Step 5: Choose trades
You can either hire individual trades or use a refurbishment company that coordinates everything. The second option usually saves stress and stops trades blaming each other when something goes wrong.
Why the Sequence Matters
We once worked on a refurbishment in Redhill where the decorator went in before the plaster had fully dried. The paint looked fine for a week, then blistered along the ceiling line. The customer paid an extra £400 to have it sanded back and redone. Do plaster first, let it dry, then decorate. It sounds obvious, but it gets rushed all the time. Not sure whether your walls need skimming or full replastering? Read our plastering vs skim coating guide.
Typical Refurbishment Costs in Surrey
| Project scope | Cost range | Timeframe |
|---|---|---|
| Single room refresh (paint, flooring, minor repairs) | £2,000–£5,000+ | 1–2 weeks |
| Kitchen refurbishment | £8,000–£25,000+ | 3–6 weeks |
| Bathroom refurbishment | £5,000–£15,000+ | 2–4 weeks |
| Whole-house light refurbishment | £25,000–£60,000+ | 6–12 weeks |
| Whole-house full refurbishment | £60,000–£150,000+ | 3–8 months |
These are guide prices including materials, labour and VAT where applicable. Final costs depend on size, condition, specification and whether you are living in the property during the work. For decorating budgets specifically, see our guide to the cost to paint a room in Surrey.
Which Trades Do You Need and When?
| Stage | Trades |
|---|---|
| Strip out | Labourer, waste removal |
| Structural | Builder, structural engineer |
| Plastering | Plasterer |
| Electrics | Electrician |
| Plumbing/heating | Plumber |
| Carpentry | Carpenter |
| Decorating | Painter-decorator |
| Finishing | Handyman, tiler, flooring specialist |
The key is getting the order right. If the decorator goes in before the electrician has finished second-fixing, you end up with holes in fresh paint. If the kitchen goes in before the plaster is dry, the cabinets sit against damp walls. Deciding what to tackle yourself? Read our DIY vs professional painter guide first.
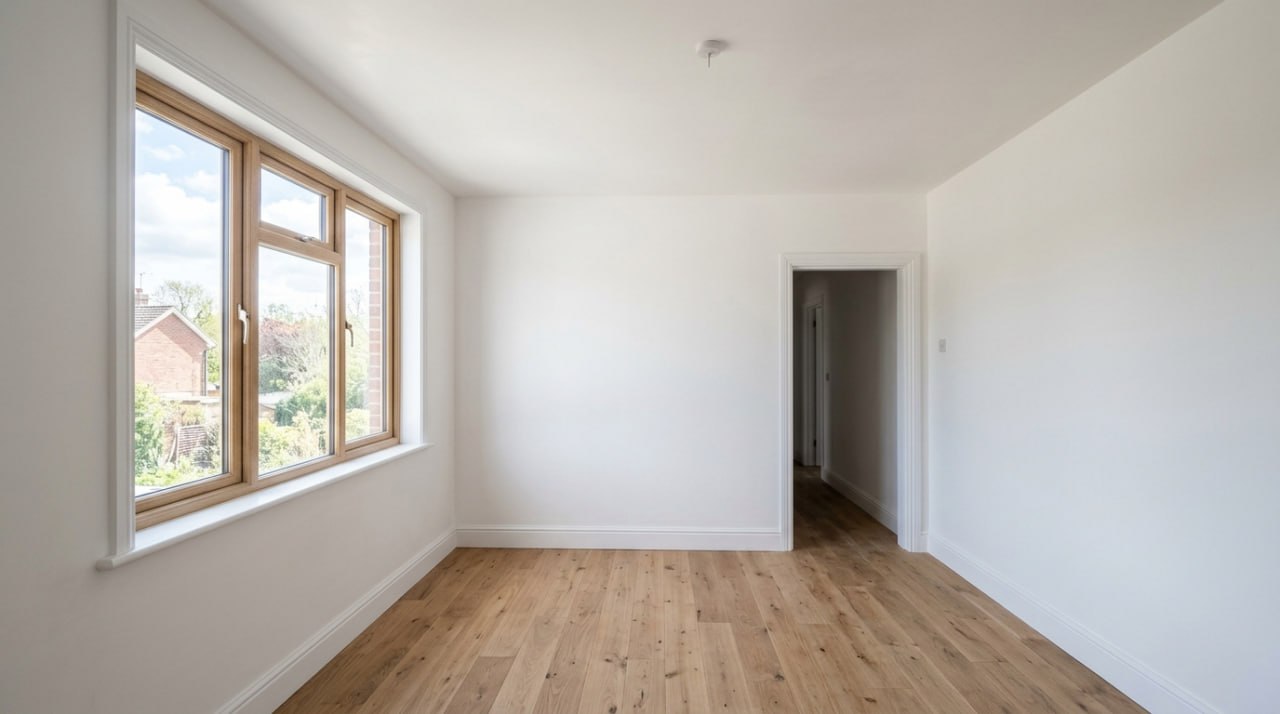
What a Full Refurbishment Actually Looks Like
A typical whole-house refurbishment in a 3-bedroom Surrey semi might look like this:
- Weeks 1–2: Strip out, structural work, first fix electrics and plumbing.
- Weeks 3–4: Plastering throughout. Walls must dry before decorating.
- Weeks 5–6: Kitchen and bathroom installations, flooring.
- Weeks 7–8: Decorating — ceilings, walls, woodwork, finishing touches.
- Week 9: Snagging, final fixes, cleaning.
This is a guide only. Older homes in Coulsdon, Warlingham and Redhill often throw up surprises — damp, outdated wiring, uneven floors — that add time.
Do You Need Planning Permission?
Most internal refurbishments do not need permission. You will need it for:
- Structural changes
- Extensions
- Listed buildings
- Changes of use
- Some changes in conservation areas
Building regulations approval may be needed for electrical work, plumbing and structural alterations.
How We Fit Into Your Refurbishment
Recommended Tradesmen doesn't manage whole refurbishments, but we work alongside builders, electricians and plumbers on the finishing stages. We handle plastering prep, painting, decorating, carpentry and the final snagging list. Because we've worked in Surrey for over 15 years, we know the local trades and the local houses — which means fewer surprises.
Common Refurbishment Mistakes
- Starting with the pretty stuff. Kitchens and bathrooms get the attention, but if the walls, electrics and plumbing aren't right first, everything suffers.
- Underestimating drying times. Fresh plaster, concrete screeds and even some adhesives need weeks to dry. Rushing them causes failures later.
- Not agreeing a snagging process. Before work starts, agree what happens with defects after completion. We rectify defects for free because we stand by our work.
- Changing the scope mid-project. That £2,000 extra for bi-fold doors or a different tile always comes with hidden knock-on costs.
- Hiring the cheapest quote. A low quote often means corners are being cut somewhere. With refurbishments, you usually find out where six months later.
How to Choose a Refurbishment Company
- Ask for references from similar projects
- Check they have proper insurance (we carry £1M public liability insurance)
- Get a detailed written quote, not a vague estimate
- Ask who will be on site day-to-day
- Confirm the payment schedule and avoid large upfront deposits
A good refurbishment company will be honest about what they can't do and will bring in specialists for structural, electrical and gas work.
Surrey-Specific Refurbishment Considerations
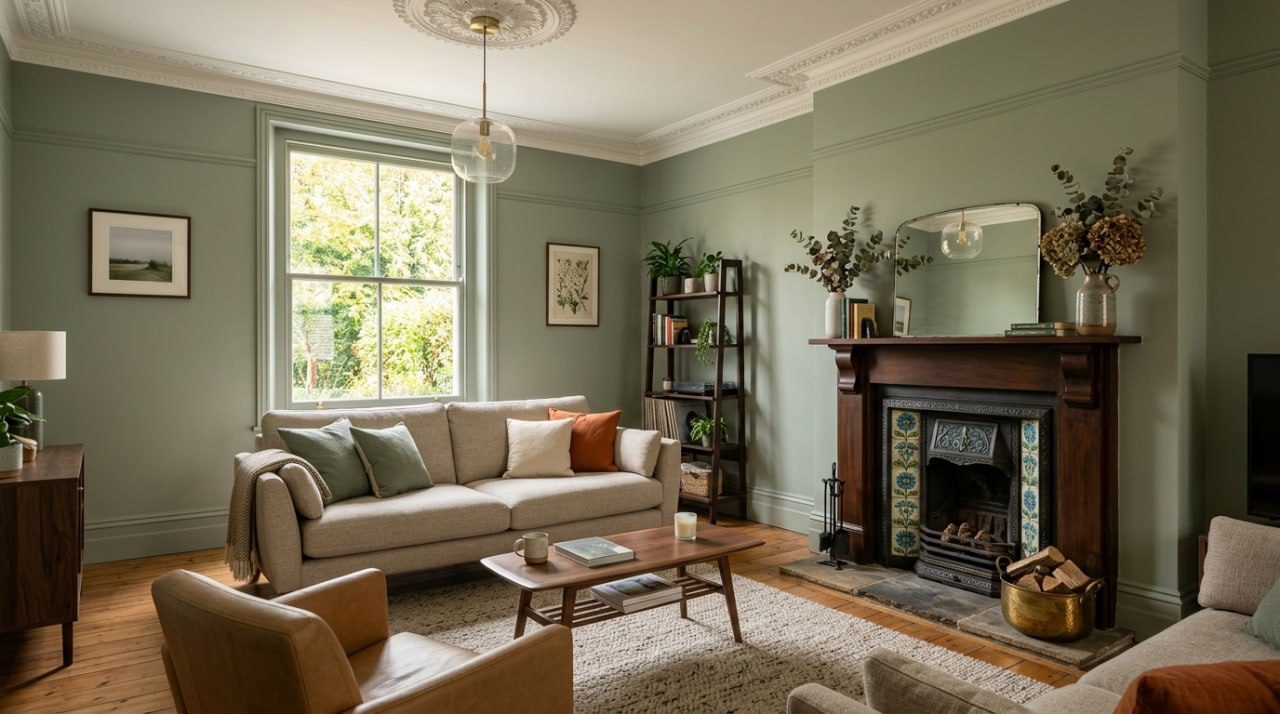
Older properties in Surrey come with their own quirks. Victorian and Edwardian homes in Croydon and Caterham often have solid walls, original fireplaces and uneven floors. Post-war houses in Purley and Kenley may need rewiring or updated heating. Newer builds in Coulsdon tend to be more straightforward but can still suffer from poor original finishes.
Understanding the property type helps set realistic budgets and timelines. A 1930s semi in Warlingham will have different needs from a 1990s townhouse in Redhill.
Reducing Disruption During a Refurbishment
If you're living on site:
- Seal off work areas with dust sheets and temporary doors
- Agree a daily tidy-up routine with trades
- Set up a temporary kitchen and washing facility
- Keep one room completely finished as a retreat
- Communicate clearly about access and working hours
Good trades make disruption shorter. Poor coordination makes it feel endless.
Related Posts
How Much Does It Cost to Paint a Room in Surrey? (2026 Price Guide)
Budgeting for the decorating phase
DIY vs Professional: When to Hire a Painter
Decide which parts of your refurbishment to tackle yourself
How to Hire a Painter in Surrey: 5 Red Flags
Choosing the right tradesman for your project
Frequently Asked Questions
How long does a whole-house refurbishment take?
A light refurbishment takes 6–12 weeks. A full refurbishment with kitchen, bathrooms, rewiring and replumbing takes 3–8 months.
Should I move out during a refurbishment?
If electrics, plumbing, bathrooms and kitchens are being replaced, living on site is hard. Dust, noise and lack of facilities make moving out worthwhile for larger projects.
What is the biggest cause of budget overrun?
Scope creep. Adding extras after work starts is the fastest way to blow the budget.
Do I need an architect?
Only for structural changes, extensions or complex layouts. For most internal refurbishments, a builder or refurbishment company can manage the design.
Can I refurbish in stages?
Yes. Many homeowners do one floor or one room at a time to spread cost and disruption.
What order should trades work in?
Strip out → structural → plastering → electrics/plumbing → flooring → kitchen/bathroom → decorating → snagging.
How much contingency should I add?
We recommend 10–15% of the total budget. Old houses in Surrey often hide surprises behind walls and floors.
Can Recommended Tradesmen manage the whole refurbishment?
We handle painting, decorating, carpentry and handyman finishing. For structural, electrical and plumbing work, we work alongside trusted trades we've used for years.
What areas of Surrey do you cover for refurbishments?
We work across Croydon, Purley, Kenley, Caterham, Coulsdon, Warlingham, Redhill, Whyteleafe and surrounding areas.
How do I get an accurate refurbishment quote?
A free, no-obligation visit is the only way. Every property is different, especially period homes.
Refurbishment Services We Offer
We help homeowners across Surrey with the finishing stages of a refurbishment — the parts that make a house feel finished. If you're planning a renovation, here's where we can step in:
Interior Painting & Decorating
Walls, ceilings, woodwork, and final finishes for every room in the house.
Plastering
Smooth, sound walls and ceilings ready for decorating after the services are in.
Wallpapering
Feature walls, full rooms, and period-style paper finishes.
Handyman Services
Final fittings — curtain rails, blinds, shelves, mirrors, and those small finishing jobs.
Planning a Refurbishment in Surrey?
We work across Croydon, Purley, Kenley, Caterham, Coulsdon, Warlingham, Redhill and surrounding areas. Whether you need decorating, carpentry or someone to coordinate the finishing trades, we can help. Get a refurbishment quote from our Surrey team.
Or email: info@recommended-tradesmen.co.uk
Last updated: August 2026. Based on 15+ years of painting, decorating and finishing refurbishments in Surrey.