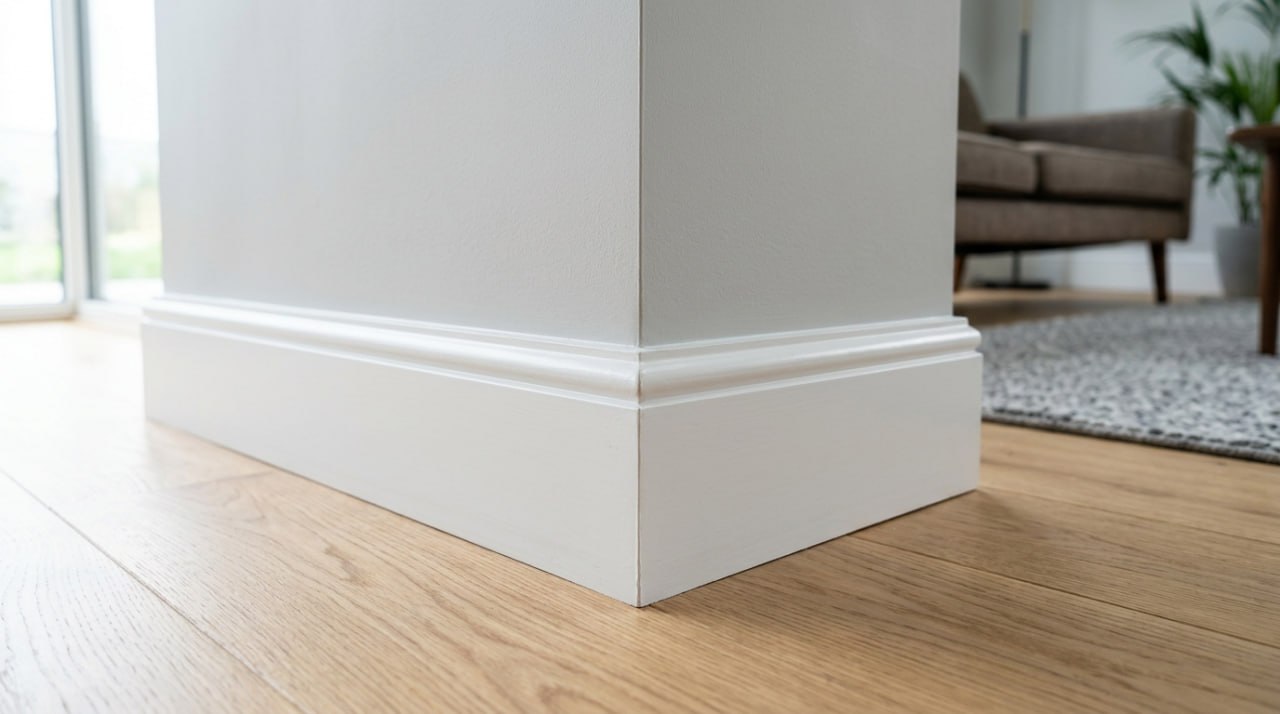
Skirting boards take a beating. Vacuum cleaners bump them, furniture scuffs them, and years of painting over old finishes leave them chipped, warped and tired. If yours are looking past their best, replacing them can transform a room — but the question is whether to tackle it yourself or bring in someone who does it every day.
We've been fitting and painting skirting boards in homes across Croydon, Purley, Kenley, Caterham, Warlingham and Redhill for over 15 years. We've seen brilliant DIY jobs and we've seen weekends wasted on gaps, wonky corners and nail holes that won't stay filled. We're not here to talk you out of doing it yourself if you're handy. We just want you to know what you're taking on.
"We are hard working professional tradesmen who charge fair price for good quality work and no nonsense. If you spot a defect, we will come to rectify for free."
— Fred, Recommended Tradesmen, Kenley
How Skirting Board Replacement Works
Step 1: Remove the old skirting
Score along the top edge where the skirting meets the wall to break the paint seal. Then prise the board away carefully with a chisel or crowbar. Old plaster can crumble, so take your time. If the skirting is nailed into masonry, removal often damages the wall behind — plan for repairs.
Step 2: Prepare the wall
Fill holes, sand smooth and make sure the wall is straight. If the skirting doesn't sit flush, the gap will show forever. In older Surrey homes, especially in Warlingham and Redhill, walls are rarely perfectly straight.
Step 3: Measure and cut
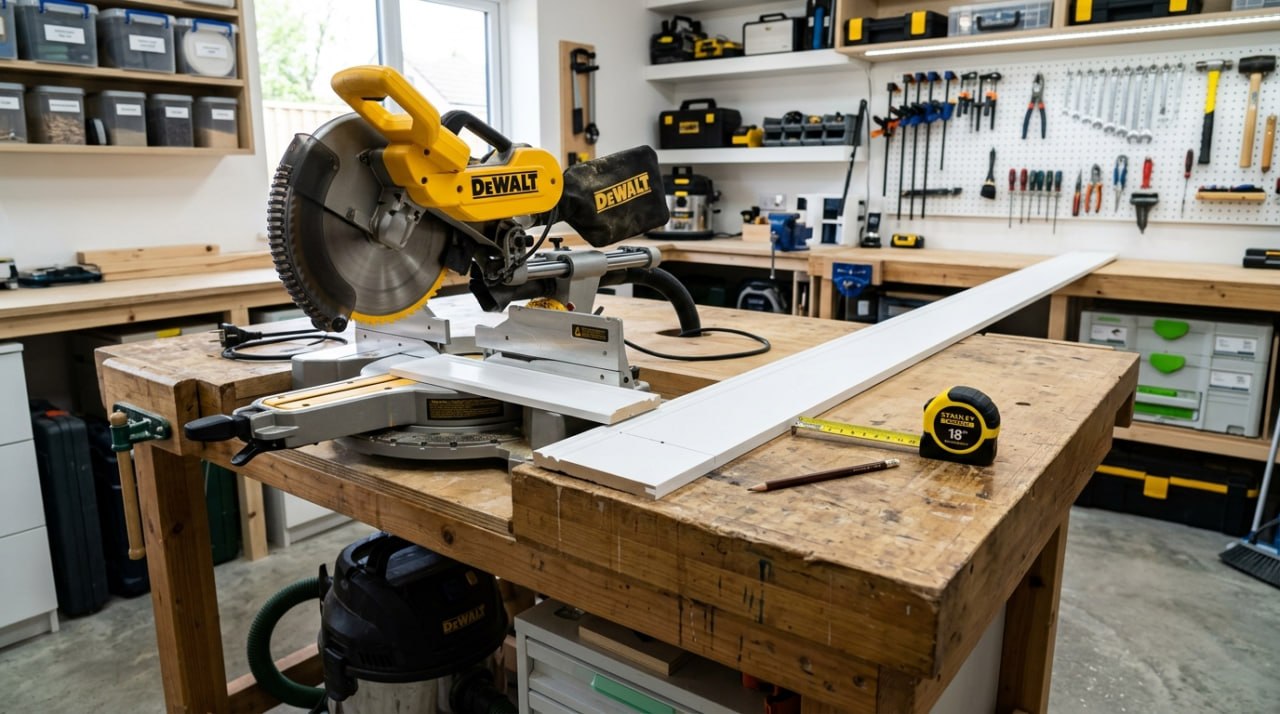
Measure twice, cut once. Use a mitre saw for clean square cuts. External corners need 45-degree mitres. Internal corners need scribe joints — one piece cut square, the other shaped with a coping saw to fit around it. This is the tricky bit.
Step 4: Fix the skirting
Drill pilot holes, then fix with nails or screws. Countersink the holes so they can be filled and painted. Use a spirit level — walls are rarely perfectly vertical.
Step 5: Fill and finish
Fill nail holes and gaps with flexible decorator's caulk or wood filler. Sand smooth, prime, undercoat and apply two topcoats. The finish is what people see.
Why DIY Is Tempting — And When It Makes Sense
It's cheaper if you already own the tools. A single room might cost £60–£150 in materials, and if you have a mitre saw, coping saw, drill and spirit level, the labour is free.
DIY makes sense when:
- The room is a simple rectangle
- You already own the tools
- You have woodwork experience
- The walls are straight and the floor is level
- You have a full weekend available
Why DIY Goes Wrong
- Bad internal corners. Scribe joints take practice. A visible gap ruins the whole look.
- Uneven walls. Walls in older Surrey homes often bow and dip. Professionals pack behind the skirting with thin wedges and caulk neatly.
- Wrong tools. A hand saw and mitre box won't give the accuracy you need. Buying tools for one job costs £150–£300.
- Damaged plaster. Removing old skirting can pull off wallpaper or crumble old plaster.
- Poor finishing. Countersinking, filling, sanding, priming, undercoating and topcoating — miss any step and the holes show through.
When to Hire a Professional
- Multiple rooms
- Bay windows or angled walls
- Period properties with detailed mouldings
- You want a flawless painted finish
- You've just decorated the room and don't want to risk damaging it
"If you've got one room, you're handy, and you already own the tools, have a go. But if you've got three rooms, a bay window, or you've just had the room decorated, get us in. We'll do it in a day, the corners will be perfect, and the finish will match the rest of the room."
— Fred, Recommended Tradesmen
Cost Comparison: DIY vs Professional
| Cost item | DIY | Professional |
|---|---|---|
| Skirting boards (standard room) | £30–£60 | £30–£60 |
| Caulk, filler, sandpaper | £15–£25 | Included |
| Primer, undercoat, topcoat | £20–£40 | Included |
| Tools (if buying new) | £150–£300 | N/A |
| Labour | £0 | £250–£450+ per room |
| Total (1 room) | £215–£425 | £250–£450+ |
| Total (3 rooms) | £295–£505 | £600–£950+ |
| Total (5 rooms) | £375–£585 | £900–£1,250+ |
Important: These are guide prices only. The actual cost depends on the skirting profile, room size, wall condition and whether you want the boards painted. The only way to get an accurate figure is a free, no-obligation visit.
What Type of Skirting Board Should You Choose?
MDF: Cheap, uniform, easy to paint. Not as hard-wearing as timber. Fine for most modern homes. £5–£15 per metre.
Softwood (pine): Traditional, takes paint well. Can dent more easily. £8–£20 per metre.
Hardwood (oak, walnut): Beautiful, durable, can be stained or varnished. £20–£50+ per metre.
Profile styles:
- Torus — rounded, suits most homes
- Ogee — traditional, suits period properties
- Chamfered — modern, clean lines
- Bullnose — very modern, minimalist
- Lambs tongue — soft, traditional curve
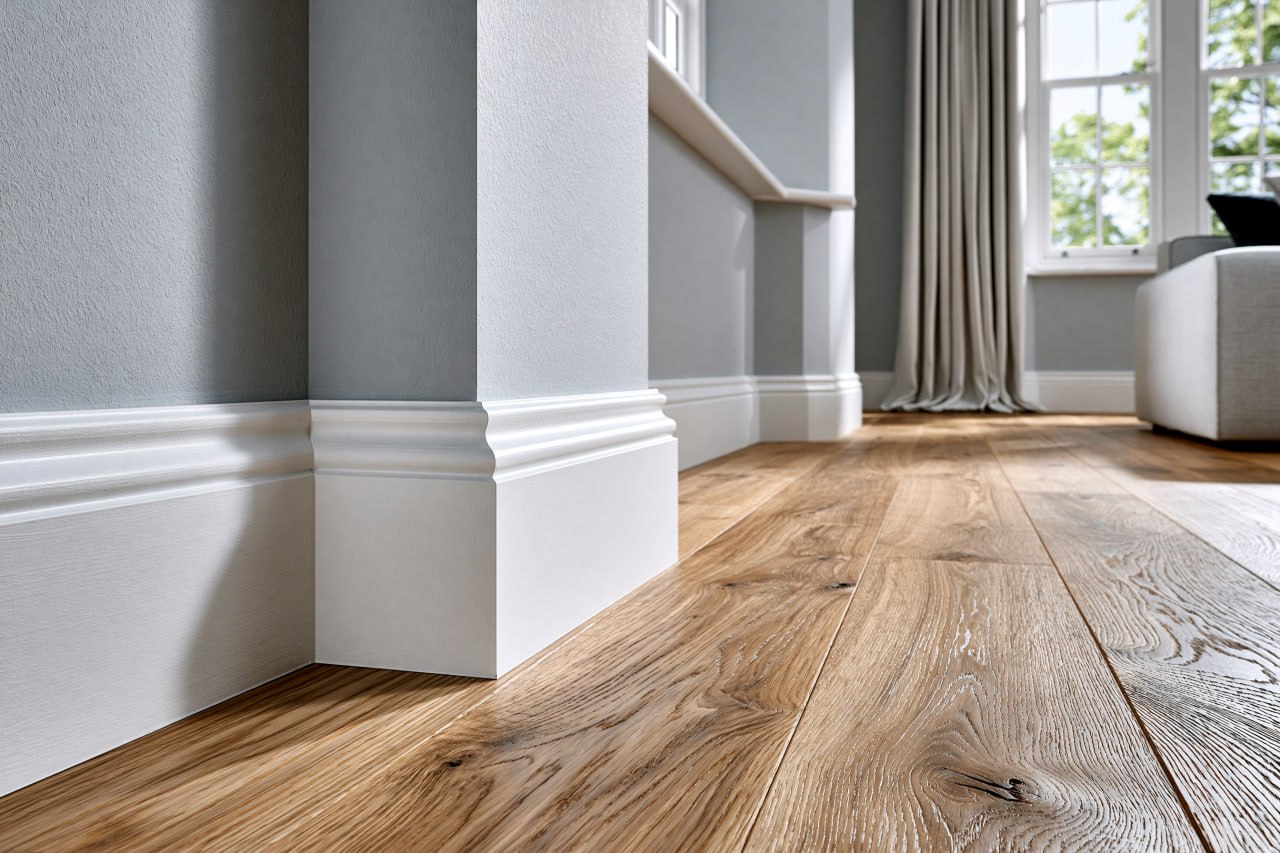
Height: Standard is 119mm. Taller skirting (145mm, 170mm, 220mm) looks more traditional and covers more wall imperfections.
What Not to Do With Skirting Boards
- Don't fit new skirting over old wallpaper or flaking paint — the wall behind won't be sound.
- Don't use ordinary wood glue as the main fix — nails or screws hold better long-term.
- Don't caulk over large gaps — pack them first, then caulk neatly.
- Don't skip the primer — raw MDF and timber soak up paint unevenly without it.
- Don't try to match original period profiles from a standard DIY shed — specialist suppliers exist for a reason.
How We Finish Skirting Boards
Our standard process is removal, wall prep, fitting, filling, priming, undercoating and two topcoats. We use trade-quality paints such as Dulux Trade, Johnstones or Crown Trade, depending on what the customer wants. We also colour-match to existing woodwork so the room looks consistent.
"A lot of customers ask us to paint the skirting the same colour as the walls in small rooms. It makes the space feel bigger because your eye doesn't stop at the join. It's a small detail that makes a big difference."
— Fred, Recommended Tradesmen
For carpentry in Croydon, Purley or Kenley, we fit skirting boards as part of our decorating work. See our interior painting and decorating service for the finishing side. Read our full cost to paint a room in Surrey guide. If you're planning a bigger project, our property refurbishment in Surrey guide explains the right order of work. For painting help in Redhill, see our Redhill painter and decorator page.
Related Posts
How Much Does It Cost to Paint a Room in Surrey? (2026 Price Guide)
Full room decorating costs, including skirting painting
Property Refurbishment in Surrey: Where to Start
If skirting replacement is part of a larger renovation
DIY vs Professional: When to Hire a Painter
General guide to deciding which jobs to tackle yourself
Frequently Asked Questions
Can I replace skirting boards myself?
Yes, if you have the tools and experience. For a single room with straight walls, a competent DIYer can do it in a weekend. The tricky parts are scribe joints, uneven walls and achieving a professional paint finish.
How much does it cost to replace skirting boards professionally?
A professional charges £250–£450+ per room for standard MDF or softwood skirting, including removal, fitting, filling, priming and painting. Period properties or hardwood skirting cost more.
How long does it take to replace skirting boards?
A professional takes 4–6 hours per room including fitting, filling and painting. A competent DIYer takes around two days for one room.
Should I paint skirting boards before or after fitting?
We usually apply primer and undercoat before fitting, then the final topcoat after. This protects the back and edges from moisture, but fitting will scuff the paint so a final topcoat is always needed.
What is the best skirting for a modern home?
MDF or softwood with a chamfered or torus profile at 119mm or 145mm height. MDF is cheap and stable. Softwood is more traditional and takes paint beautifully.
Can you replace skirting without damaging the wall?
Not always. Old plaster can crumble, especially if the skirting was glued. Plan to touch up paintwork or wallpaper along the bottom edge after fitting new skirting.
What tools do I need?
Essential: mitre saw, coping saw, tape measure, pencil, drill with countersink bit, hammer/nails or nail gun, spirit level, crowbar or chisel, caulking gun, sandpaper and wood filler. Buying all of these for one room usually costs £150–£300.
How do you match original skirting in a period home?
Sourcing reproduction mouldings from a specialist supplier, or having a carpenter copy the profile. Take a sample to a timber merchant. Expect to pay £20–£50+ per metre for matching hardwood.
Do you remove the old skirting?
Yes. We remove the old skirting, prepare the wall, fit the new boards and finish them as part of the same job.
Can skirting boards be painted the same colour as the walls?
Yes, and it often makes small rooms feel larger. We can match the colour exactly so the finish is seamless.
Services We Offer
Skirting board replacement needs both carpentry and decorating skills. Here's how we can help:
Carpentry
Precision fitting, mitre joints, scribe joints, and matching period profiles.
Interior Painting & Decorating
Filling, priming, undercoating, and a flawless topcoat finish.
Handyman Services
Small finishing jobs, adjustments, and those final touches.
Exterior Painting
For exterior woodwork, doors, and windows once the inside is done.
Ready for Skirting Board Replacement in Surrey?
We fit, fill and paint skirting boards across Croydon, Purley, Kenley, Caterham, Warlingham, Redhill and surrounding areas. Clean corners, level fitting and a finish that matches your room.
Or email: info@recommended-tradesmen.co.uk
Last updated: August 2026. Based on 15+ years of fitting and painting skirting boards in Surrey homes.