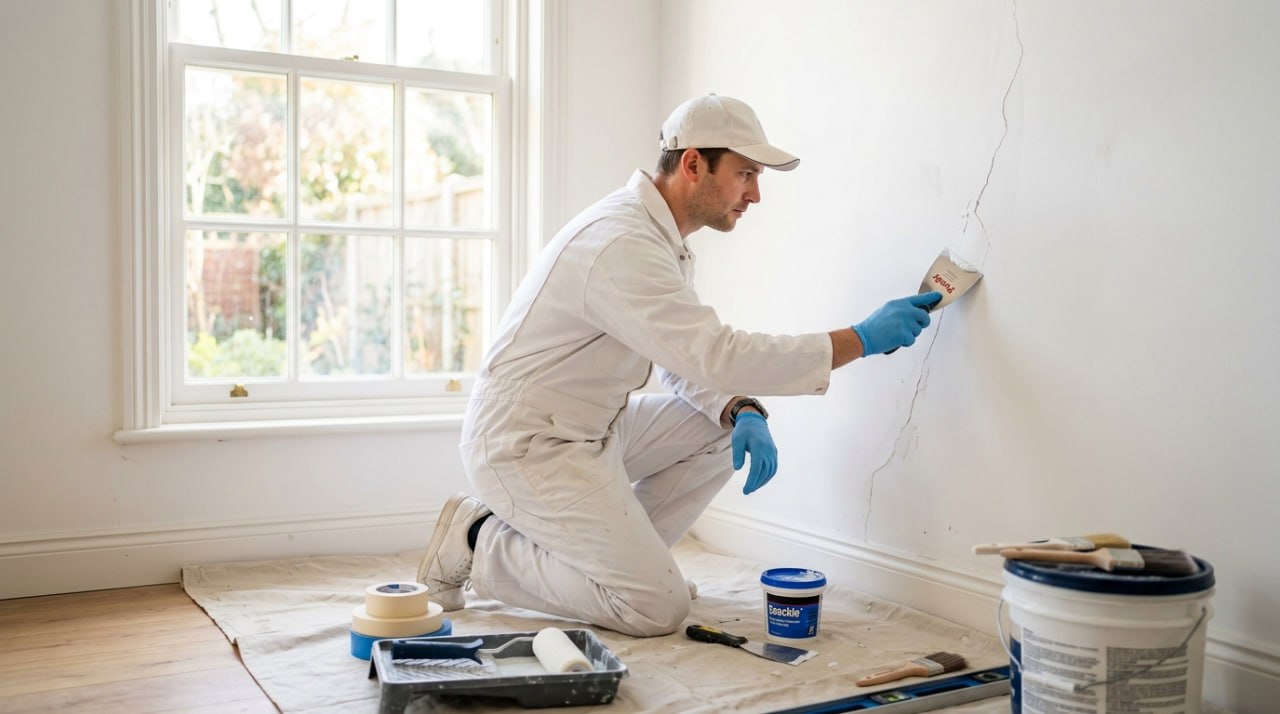
The Problem
You watch a painter walk into your room, look at the walls, and then spend a day not painting. They're filling, sanding, masking, and cleaning. You wonder: am I paying them to paint or to faff about?
I get it. I've had customers in Croydon, Purley, Kenley and Caterham ask me, "How long until you actually start painting?" And I have to explain: this IS the painting. What we're doing now is what determines whether the job lasts 2 years or 10.
Professional painters spend 60–70% of their time on preparation. The actual painting is the easy bit. Anyone can slap paint on a wall. The skill is in making the wall ready for it. And most people — including some painters — skip half the steps.
This guide shows you what proper preparation looks like. If you're hiring a painter, use it to check they're doing the job properly. If you're painting yourself, follow it and your finish will be professional.
How Professional Preparation Works: The 10-Step Process
Step 1: Clear the room.
Remove furniture, or move it to the centre and cover it. Take down curtains, blinds, pictures, and mirrors. Remove light fittings if possible. Cover everything with dust sheets — not just the floor, but the furniture too. Paint drips travel. Dust sheets are cheaper than replacing a carpet.
Step 2: Protect what stays.
Mask skirting boards, architraves, windows, door handles, and anything that isn't being painted. Use proper decorator's masking tape — the blue or green stuff, not cheap brown tape that leaves residue. Apply it carefully along edges, pressing down firmly so paint doesn't seep underneath. Protect radiators with plastic sheeting. Cover sockets and switches with tape.
Step 3: Remove old wallpaper (if present).
Score the paper with a wallpaper scorer. Soak with warm water and a bit of fabric softener — it breaks down the paste. Scrape off with a broad scraper. If there are multiple layers, a steam stripper saves time. Don't rush this — old wallpaper left on the wall will bubble under new paint.
Step 4: Inspect the walls and ceiling.
Look for cracks, holes, blown plaster, loose paint, and water stains. Mark each problem with a pencil. In older homes, especially the Victorian terraces in Warlingham and Redhill, walls can have a dozen different issues in one room. Each one needs a different fix.
Step 5: Fill cracks and holes.
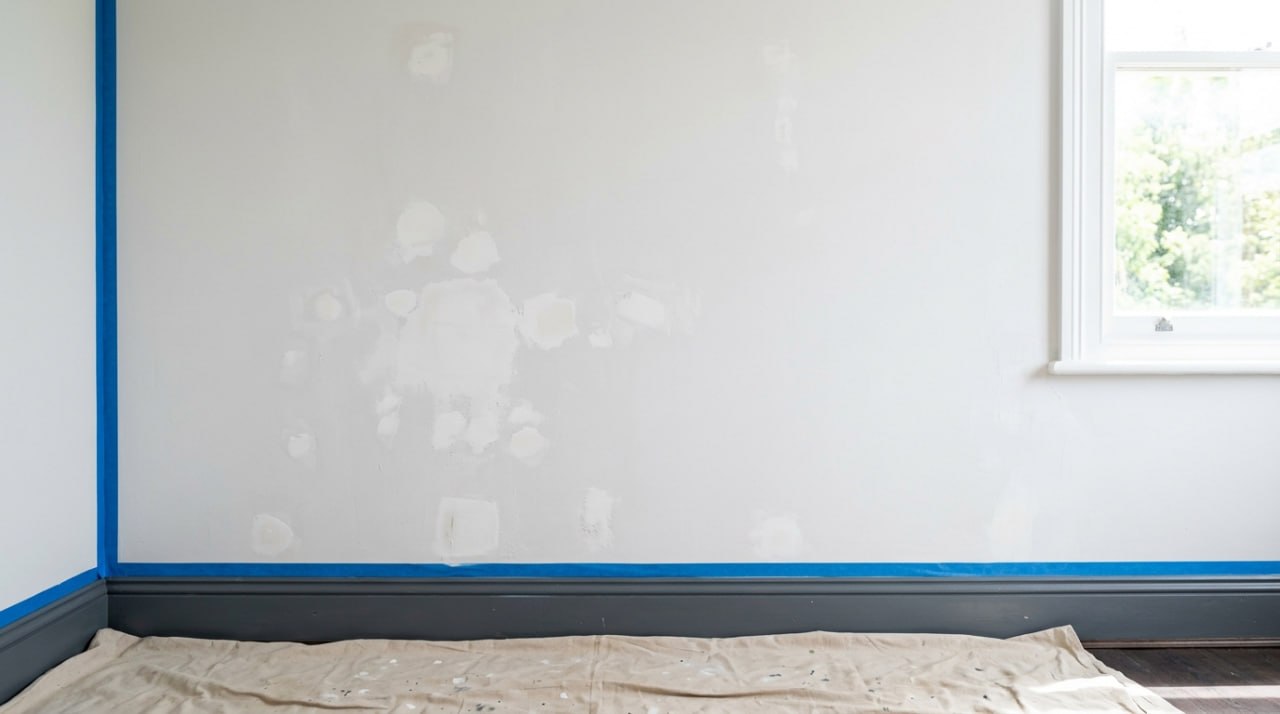
Small cracks (hairline): use a flexible decorators' caulk or fine surface filler. It flexes with the wall so the crack doesn't reopen. Medium holes (nail holes, screw holes): use a two-part filler or all-purpose filler. Sand flush when dry. Large holes or blown plaster: cut out the damaged plaster, fill with bonding plaster, then skim with finishing plaster. This takes 2 days (fill, dry, fill again, dry, sand).
Step 6: Sand everything smooth.
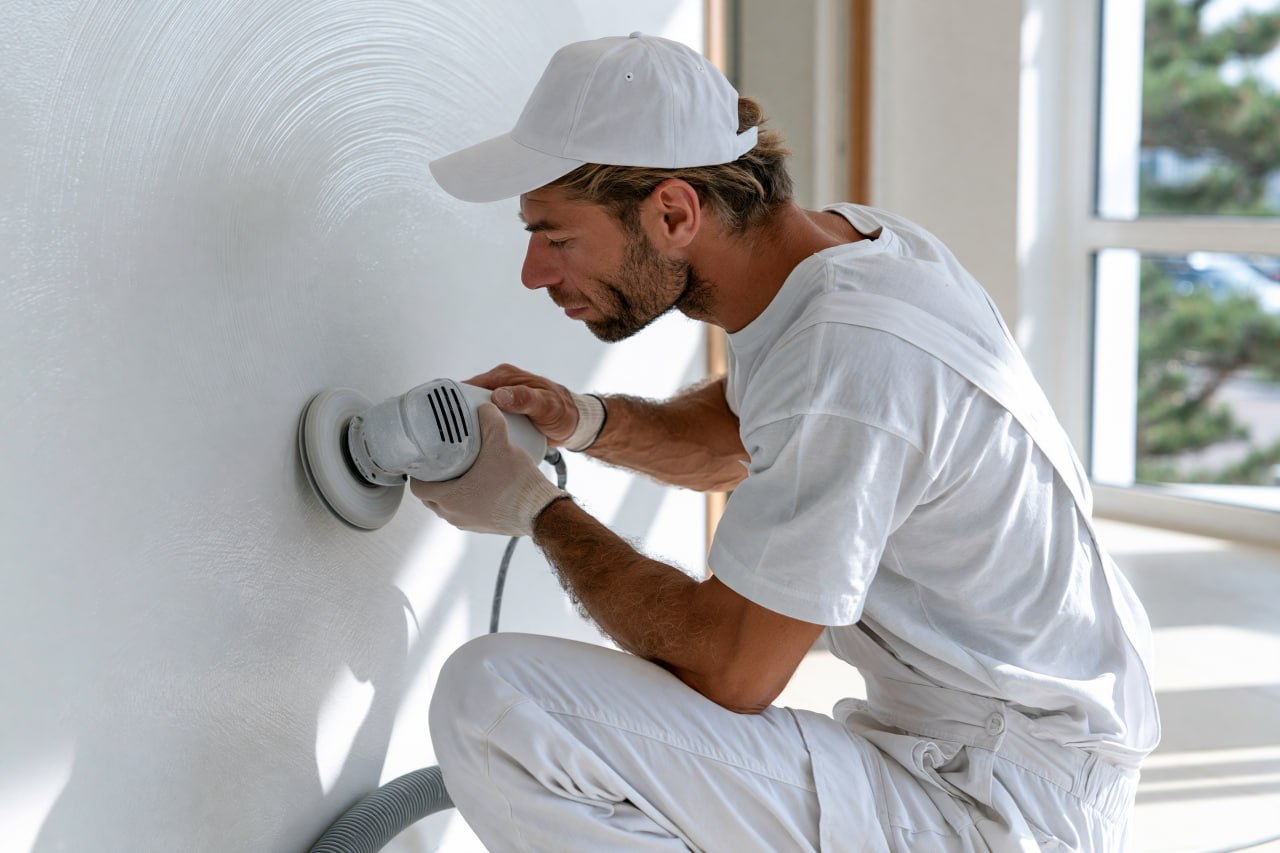
This is where most DIY jobs fail. Filler needs sanding flush with the wall. Old paint needs sanding to create a key for the new paint. Glossy surfaces need sanding so the new paint sticks. We use an electric sander for large areas and hand sanding for details. We also use dustless sanding where possible — a vacuum attached to the sander sucks up dust before it spreads through your house.
Step 7: Clean the surfaces.
Remove all dust with a vacuum and tack cloth. Then wash the walls with sugar soap and water. This removes grease, dirt, fingerprints, and old wallpaper adhesive. Rinse with clean water and allow to dry completely. Paint won't stick to dirty or greasy walls. I've seen paint fail within months because someone painted over a kitchen wall that still had cooking grease on it.
Step 8: Prime and seal.
Bare plaster needs a mist coat — watered-down emulsion (roughly 70% paint, 30% water) that seals the surface and stops the paint soaking in unevenly. Stained areas (water damage, nicotine, crayon marks) need a stain-blocking primer or shellac. Bare wood needs wood primer. Metal needs metal primer. Without primer, paint soaks in, stains bleed through, and the finish is patchy.
Step 9: Caulk gaps and joints.
Use a flexible decorator's caulk between skirting boards and walls, around architraves, and along cornices. This seals gaps that would otherwise show as dark lines after painting. Smooth with a wet finger and allow to dry. This is the detail that makes a room look professional rather than DIY.
Step 10: Final inspection before painting.
Walk the room with a torch held at an angle to the wall. This rakes light across the surface and reveals imperfections that overhead lighting hides. Fill any missed spots, sand, clean, and spot-prime. Only when the wall is perfect do we open the first tin of paint. For the full decorating process, see our interior painting and decorating service.
Why Preparation Matters: The Science of Adhesion
Paint doesn't stick to everything. It sticks to clean, dry, properly prepared surfaces. Here's what happens when you skip prep:
Paint on dusty walls: The dust acts as a barrier. The paint sits on top of the dust instead of bonding to the wall. Within weeks, the paint rubs off or peels in patches.
Paint on greasy walls: Grease repels water-based paint. The paint beads up and doesn't form a uniform film. You'll see spots where the paint hasn't covered properly.
Paint over cracks without filling: The crack telegraphs through the new paint. Within months, the crack reappears — often worse than before, because the new paint is thicker and less flexible than the old.
Paint on wallpaper glue: Old wallpaper adhesive reactivates when it gets wet from paint. It turns into a sticky mess that bubbles and lifts the new paint. You end up with patches of loose paint that peel off by hand.
Paint without primer on bare plaster: Bare plaster is highly absorbent. Paint soaks in unevenly, leaving patchy areas where the plaster has sucked more paint out of the roller. The result is a streaky, chalky finish that looks terrible.
Paint over water stains without sealing: The stain bleeds through the new paint. Even multiple coats won't block it. You need a stain-blocking primer or shellac — paint alone won't stop it.
Every single one of these problems is caused by skipping a step in the preparation. And every single one costs more to fix than doing the prep properly in the first place.
"I've been called to fix DIY paint jobs in Purley where the paint was peeling after 6 months because the homeowner painted over old wallpaper glue. I've seen walls in Coulsdon where the cracks came back through after 3 months because the filler wasn't sanded properly. And I've seen water stains in Redhill that bled through 4 coats of paint because no one used a stain blocker. Every one of those jobs cost more to fix than if they'd just done the prep properly. We spend a full day on prep for a standard room. Some painters spend 2 hours. That's the difference between a 10-year finish and a 1-year finish."
— Fred, Recommended Tradesmen, Kenley
What DIY Preppers Usually Miss
1. Not removing wallpaper properly. Scraping the surface isn't enough. You need to get every bit of adhesive off. If the wall feels slightly tacky when you run your hand over it, there's still glue on it. Wash it again with sugar soap.
2. Using the wrong filler. All-purpose filler is fine for small holes. For deep holes or cracks that move, you need a flexible filler or two-part epoxy. Deep holes filled with all-purpose filler will crack again as the filler shrinks during drying.
3. Not sanding enough. You can't feel imperfections when you're looking at a wall straight on. You feel them with your hand. Run your palm over the filled areas. If you feel a bump, a dip, or a rough edge, sand more. A filler that looks smooth can feel like a mountain when you paint over it.
4. Not cleaning after sanding. Dust settles into the grain of the filler and the pores of the plaster. If you paint over it, the dust creates a weak layer between the paint and the wall. Vacuum thoroughly, then wipe with a tack cloth. Then do it again.
5. Skipping the mist coat on fresh plaster. This is the most common mistake. Fresh plaster MUST have a mist coat. Without it, the paint soaks in, the colour is patchy, and the finish is chalky. A mist coat costs about £5 in paint and takes 30 minutes. Painting over unsealed plaster and having to redo it costs £300+.
6. Not using stain blocker on water stains or nicotine. Water stains from leaks, nicotine from smokers, and crayon marks from children will bleed through standard paint. They need a stain-blocking primer (like Zinsser BIN) or shellac. One coat of primer, then paint as normal. Skip the primer and you'll be painting 4–5 coats trying to hide the stain. For blown plaster and replastering, our plastering service can help.
How Long Does Preparation Take?
| Room Condition | Prep Time | What It Includes |
|---|---|---|
| Good condition (minimal cracks, no wallpaper) | 4–6 hours | Light filling, sanding, cleaning, masking |
| Average condition (some cracks, old paint) | 1–2 days | Filling, sanding, cleaning, priming, caulking |
| Poor condition (blown plaster, wallpaper, stains) | 2–3 days | Stripping wallpaper, replastering, filling, sanding, sealing, priming |
| Fresh plaster (new build or skimmed) | 1 day | Mist coat, light sanding, cleaning, masking |
Important: These times are for professional painters with the right tools. A DIYer might take twice as long. The key is not to rush it. Every hour spent on prep saves two hours of fixing problems later.
Cost of Preparation vs Cost of Fixing Mistakes
For full room preparation and decorating, our work is priced based on a painter-decorator day rate of £250–£350 in the Surrey/London-fringe market. The specific prep costs below are for materials and small fixes on top of that labour. For a complete room quote, the prep work is included in the overall decorating price.
| Issue | Cost to Prep Properly | Cost to Fix Later |
|---|---|---|
| Wallpaper removal | £100–£200 (time) | £400–£800 (strip, replaster, repaint) |
| Crack filling | £30–£50 (materials) | £200–£400 (re-fill, sand, repaint) |
| Stain blocking | £20–£40 (primer) | £300–£500 (multiple coats, still shows) |
| Mist coat on fresh plaster | £5–£10 (paint) | £300–£600 (repaint entire room) |
| Proper cleaning | £20–£30 (time) | £400–£800 (strip failing paint, start again) |
The maths is simple. Do it once, do it properly, and it costs less than doing it twice. For a complete room price including prep, filling, sanding, priming, and painting, the best way to get an accurate figure is to get in touch for a bespoke quote.
Related Posts
How Much Does It Cost to Paint a Room in Surrey? (2026 Price Guide)
Full pricing breakdown, including prep work and the new day-rate structure.
How to Hire a Painter in Surrey: 5 Red Flags
Check if your painter is doing proper prep before they start.
DIY vs Professional: When to Hire a Painter
When to tackle prep yourself and when to call a pro.
Frequently Asked Questions
Do professional painters prepare walls before painting?
Yes, professional painters spend 60–70% of their time on preparation. This includes removing old wallpaper, filling cracks and holes, sanding smooth, cleaning surfaces, priming bare plaster or wood, and caulking gaps. The actual painting is only 30–40% of the job. Skipping preparation is the main reason paint fails within months rather than lasting 10 years.
How do you prepare walls for painting?
The professional process is: 1) Clear and protect the room with dust sheets and masking tape. 2) Remove old wallpaper. 3) Inspect walls for cracks, holes, and blown plaster. 4) Fill cracks and holes with the appropriate filler. 5) Sand everything smooth. 6) Clean with sugar soap and water. 7) Prime bare plaster with a mist coat. 8) Seal stains with a stain-blocking primer. 9) Caulk gaps between skirting and walls. 10) Inspect with a raking light before painting.
Do you need to wash walls before painting?
Yes, always. Walls collect dust, grease, fingerprints, and old wallpaper adhesive. Paint won't stick to dirty or greasy surfaces. Wash with sugar soap and warm water, rinse with clean water, and allow to dry completely. In kitchens, this is especially important — cooking grease repels paint and causes patchy coverage. Even walls that look clean usually have enough dust to affect paint adhesion.
What happens if you don't use primer before painting?
Without primer, paint soaks unevenly into bare plaster or wood, leaving a patchy, chalky finish. Stains bleed through the paint. Paint on glossy surfaces flakes or peels because it has nothing to grip. On bare wood, tannin stains bleed through and ruin the colour. Primer is a bonding layer that seals the surface, blocks stains, and gives the paint something to adhere to. Skipping it is a false economy.
Do you need to sand walls before painting?
Yes, if the surface is glossy, uneven, or has been filled. Gloss paint needs sanding to create a key for new paint to grip. Filled areas need sanding flush with the wall. Old paint that's flaking needs sanding back to a firm edge. You don't need to sand walls that are already matt, clean, and in good condition — just wash them. But most rooms need at least some sanding before painting.
Can you paint over wallpaper?
We don't recommend it. Paint over wallpaper often shows seams, bubbles, and texture differences. If the wallpaper is vinyl, paint won't adhere properly. If you must paint over wallpaper, use an oil-based primer first to seal the surface, then paint. But stripping the wallpaper and starting fresh always gives a better, longer-lasting result. The time you save by not stripping is lost when the paint fails and you have to redo the whole room.
How do you fill cracks in walls before painting?
For hairline cracks, use flexible decorators' caulk — it flexes with the wall so the crack doesn't reopen. For small holes, use all-purpose filler. For larger holes or deep cracks, use two-part epoxy filler or bonding plaster, then skim with finishing plaster. Allow to dry completely, then sand flush with the wall. The key is sanding — if the filler isn't perfectly smooth, it'll show through the paint.
What is a mist coat and why do you need it?
A mist coat is a watered-down emulsion (roughly 70% paint, 30% water) applied to fresh plaster before the full paint coats. It seals the porous plaster so the subsequent paint coats don't soak in unevenly. Without a mist coat, paint on bare plaster dries patchy, chalky, and streaky. The mist coat costs about £5 in paint and takes 30 minutes. Skip it and you'll need to repaint the whole room.
How do you stop water stains from showing through paint?
Water stains, nicotine, and crayon marks bleed through standard paint. You need a stain-blocking primer (like Zinsser BIN) or shellac. Apply one coat of primer over the stain, allow it to dry, then paint as normal. One coat of primer blocks the stain permanently. Multiple coats of paint without primer will never block it — the stain will keep bleeding through. Always fix the source of the leak before painting, or the stain will return.
How long does wall preparation take before painting?
For a standard room in good condition, prep takes 4–6 hours. For a room with cracks, holes, or old paint in poor condition, prep takes 1–2 days. For a room with blown plaster, wallpaper, or water stains, prep takes 2–3 days. Fresh plaster needs a mist coat and light sanding — about 1 day including drying time. Professional painters spend 60–70% of their total time on prep. A DIYer might take twice as long.
Services We Offer
Proper interior painting preparation often needs more than just a brush. Here's how we can help:
Interior Painting & Decorating
Full prep, painting, and finishing — from mist coats to final topcoats.
Plastering
Skimming, patching, and repairing blown plaster before painting.
Handyman Services
Small repairs, adjustments, and finishing touches before paint goes on.
Wallpapering
Stripping old wallpaper and hanging new paper or preparing for paint.
Want a Paint Job That Actually Lasts?
We spend a full day on prep for every room. Filling, sanding, priming, sealing — the stuff that makes paint last 10 years, not 2. Based in Kenley, covering all of Surrey.
Or email: info@recommended-tradesmen.co.uk
Last updated: July 2026. Based on 15+ years of interior painting preparation in Surrey homes. For an accurate, room-specific quote, get in touch with our team.